
By: Michael Todd
If you’re a web/UI/UX designer, work with one, or would like to become one, this article is for you.
Earlier this year, I decided to check out this app called Sketch, which seemed to be an indie design tool that was getting more and more attention. I hadn’t thought much of anything that wasn’t an Adobe product to use for design. I assumed that newer tools, often found on the App Store for around $99, would be sub-par and probably a waste of money to try. Well, as it turns out, one of these newer inexpensive indie apps is actually one of the best design tools you can buy and absolutely fantastic for web and UI design. Here’s why it’s quickly become my new best friend:
Let pages set you free.
Let’s first assume you’ve at least moved on from Photoshop to Illustrator; and if you haven’t, I HIGHLY recommend researching the advantages of vector-based design and how these tools also tend to be better for responsive web design. It will change your life. If you do use Illustrator, then you know how useful it is to have multiple artboards to design with in a single file. And you also know that it can be annoying that:
- There’s really no way of organizing your artboards other than grouping them together, visually.
- The limited canvas size means you only have so much room for artboards before you don’t have any more room to place them.
- The 100 artboard limit is also pretty restrictive for larger projects.
- Larger files tend to be sluggish and occasionally crash.
Enter Pages in Sketch. Pages are essentially the equivalent of having multiple (and unlimited) canvases in Illustrator. Here’s why that’s awesome:
- Group artboards together just like you group layers.
- Make as many as you want. Pages and artboards are unlimited and don’t slow down Sketch as your project grows.
- Smart alignment (like Smart Guides in Illustrator) helps your maintain equal spacing and alignment between your artboards. So if you’re a little obsessive about that sort of thing, Sketch understands you.
How I use pages:
I tend to use pages to separate my different design templates. For example, one page is usually dedicated to the homepage and each artboard on that page is a design variation or a different state, and includes the desktop, tablet, and mobile designs all in one place where I can see them all together and easily move design elements from one to another. I also keep a page for my style guide, where I keep examples of styled text, button styles, or other UI elements that I’ll use throughout (read on to hear about Layer & Text Styles). I also keep a page reserved for responsive grid settings (see the next section) that I can duplicate for new pages so that I always start out with the same artboard sizes with the same grid settings.
With Illustrator, I used to try using separate files to organize my designs because keeping too many in 1 file made it slow, but that method had it’s own problems. Sketch’s performance and pages feature fixes all of this and does it well.

Responsive grid guides, built-in.
Sketch understands that it’s 2015 and responsive web design is a standard that heavily influences the way we design and build websites and web-based apps alike. That’s why it’s got built-in grid guidlines that intelligently calculate sizes for you so you can set custom grid sizes without having to do the math yourself or manually draw guidelines. Sketch calls it Layout and you can turn it on/off as needed, per artboard.
Layout Settings allows you to set variables that grid dimensions, but I usually specify only 2 things and let it calculate the rest accordingly: Total Width and Gutter Width. You can also switch between the guides being filled versus outlined, depending on your preference. If you use the same settings often, you can set them as the default so that every new artboard you create inherits those same settings.
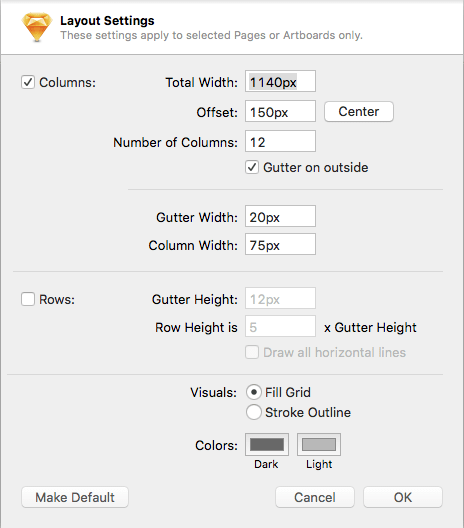
Tip: Apply grid settings to multiple artboards or all artboards within a page all at once by selecting them before bringing up the Layout Settings menu.
Sure, there are Photoshop and Illustrator templates you can download with grid guides already drawn, but a) you might want tighter gutters or a wider row width; b) they’re usually made 1 screen size (desktop) and don’t include smaller versions for tablet and mobile; c) you still have to copy/paste them onto every artboard you make that needs the grid guidelines overlaid on them, which is pretty much all of them; and what if you decide to change them during the project? If you want to calculate grid sizes for a custom grid or different screen widths, have fun doing the math…You’ll wind up using an online grid tool for that, but then you’re still stuck with problem c).
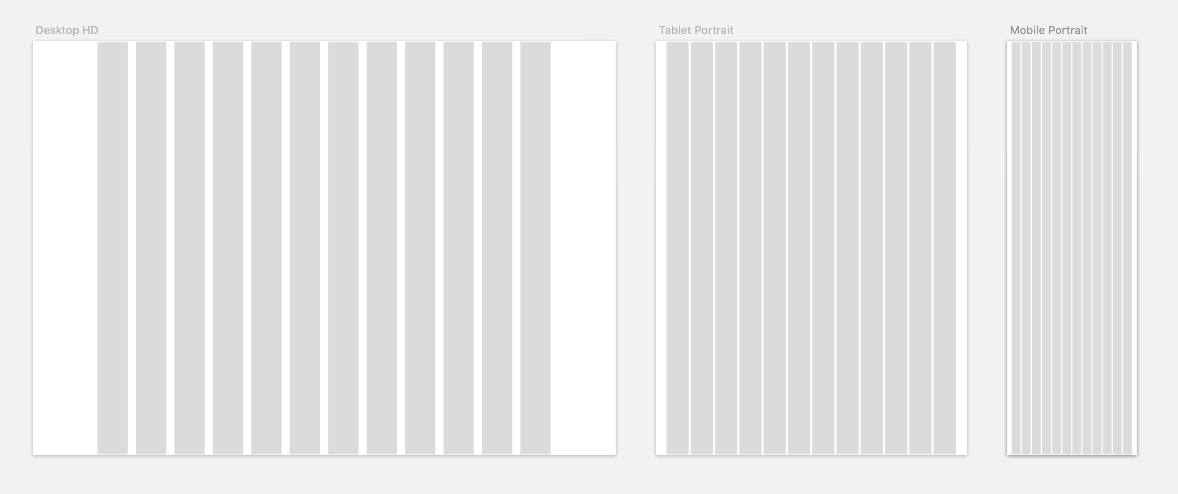
This is what my page for responsive artboard sizes typically looks like with the grid layout turned on:
Speed things up with Layer and Text Styles.
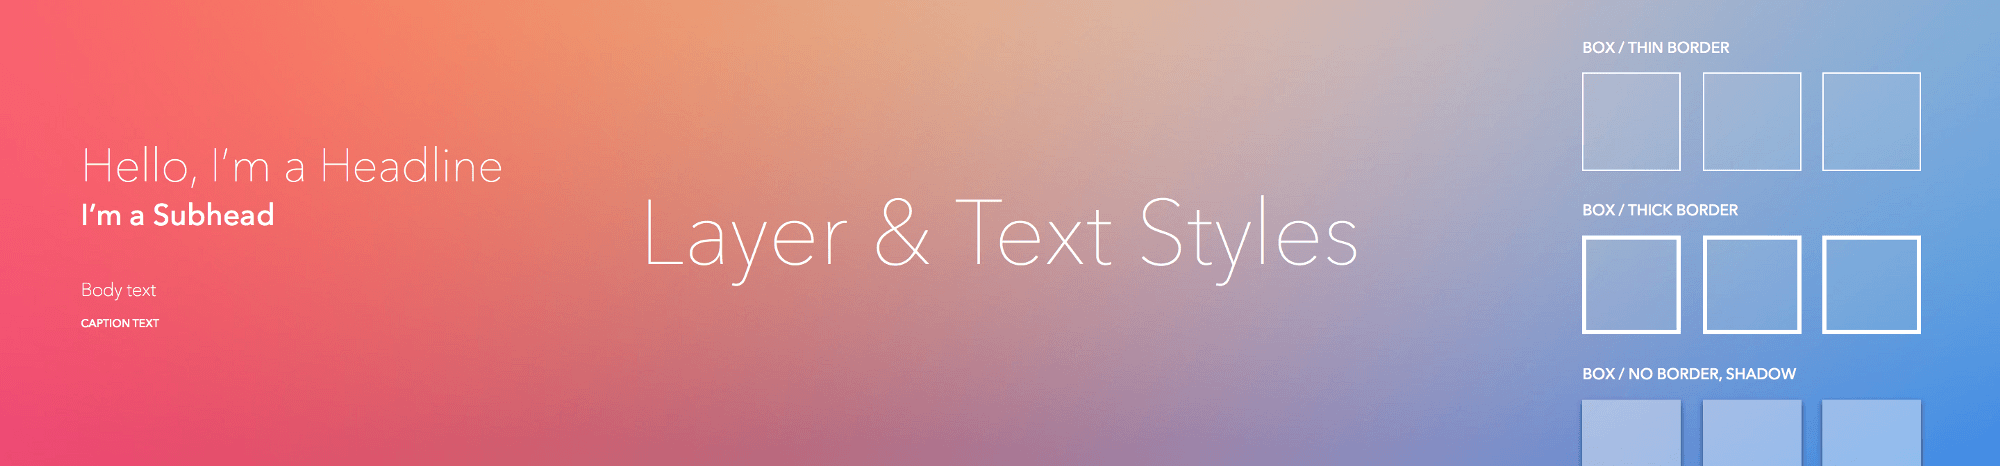
You’re familiar with text styles. You know, defined styles for headlines, body copy or paragraph text, things like that. Illustrator and InDesign has this. Even word processors have this. It’s important to use consistent typography in our designs to ensure readability and cognition, as well as minimize production time. Sketch’s text styling helps you do this by allowing you build a style list for all your variations. For example, a basic list might look something like this:
- Navigation Link
- H1
- H2
- H3
- Body copy
- Body copy link
- Button text dark
- Button text light
Sketch also styles the list using the selected font, color, and size, showing you context for easy selection. But here’s where this really helps: Let’s say you’ve designed several screens with the navigation already in place when you realize the color, size, font, or line height just isn’t right. You can change each and every single instance of text that uses that text style, instantly. All you’ve gotta do is change one piece of text and they all change to match.
While this is available in Illustrator, it’s cumbersome and not too intuative. Sketch’s version is very easy to access, straight-forward, and shows visual previews in your styles list, making it a time-saver and more joy to use.
No, I didn’t forget about Layer Styles. Those are just as awesome, if not more. Essentially, it’s the same, but a matter of setting fills, strokes, opacity, blending modes, shadows, etc. Let’s say you have a few different button styles you want to use throughout your design. Creating them as layer styles will allow you to make sure any button, wether they are a part of a symbol or not, is always styled the same as the others. I’ve also found this useful in wireframing when I decide that I want to create new placeholder objects that share the same visual style as ones I’ve used previously in my file.
Plug-in and App Integration Galore
From interactive prototyping to documentation, there are some great integrations with 3rd party apps and services for Sketch that can be greatly helpful. There are also plenty of awesome plug-ins that speed up productivity or make presentations suck less. Here’s a list of my top favorites:
- Framer JS (desktop app)— This powerful prototyping tool gives you the control of using code (CoffeeScript) to fine-tune micro-interctions and test innovative interactive concepts without the need ever mark up your designs in HTML and CSS first. It’s high-fidelity protopying at it’s finest. Use it to prototype for smartphones, wearables, computers, or anything with a web browser. If you’re not familiar with writing CoffeeScript, Framer’s documentation, tutorials, and built-in text editor are all fantastic at getting you up-and-prototyping quickly. Using Framer was my first time with CoffeeScript, and while it took a little bit to wrap my head around the concepts, learning to write the code required was pretty painless.
- UXPin (web app)— For code-free no-hassle prototyping, UXPin has a great intuitive web interface with support for syncing Sketch files into your online project. Adding transitions and realistic interactions is super simple. With familiar buttons and drop-down menus, any designer can produce great low or high fidelity prototypes in minutes.
- Zeplin (desktop & web app) — When you’re ready for developers to get involved, don’t waste any time red-lining your designs. Just export your artboards to Zeplin and let it handle the rest. It shows developers what colors and fonts you’re using across the entire project, as well as any distance between objects they want to know simply by hovering over them, much like you’d do in Sketch while holding down the Option/Alt key. Even image assets can be exported from Zeplin without the developer or designer having to export them from Sketch. In fact, the developer won’t even need Sketch at all. This is an ESSENTIAL tool that will save you HOURS and ensure developers have everything they need to get your designs built right the first time.
- Sketch Toolbox — Browse plug-ins and install them instantly with this fantastic companion app. There’s no better way to find new useful plug-ins and manage which ones you’d like to install/uninstall. This is another essential tool for Sketch users.

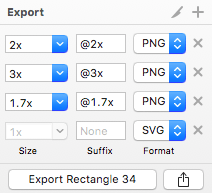
Export Assets Like a Boss.
One killer feature of Sketch is how simple and fast it is to export assets. Wether you need 1 icon or all of them exported, wether you want 1 version as a @1x PNG or several @1x @2x and @3x, plus a version as an SVG, it’s fast and easy. Click on any layer, then click the “Export +” button and set your preferences for size, prefix, and format. You can even drag and drop the thumbnail preview off the screen as a shortcut for saving an asset to your desktop or into a file upload field in your web browser (you’ll have to try that to see what I mean). And having support for exporting to multiple file formats (PNG, JPEG, TIFF, PDF, EPS, and SVG) and sizes (1x, 2x, 3x, 0.5x, custom x, or max height/width) or all at the same time is pretty slick! You can also export a set of assets all at once and Sketch will remember what settings you chose for each and every one them.
Documentation? Oh, you can do that, too.
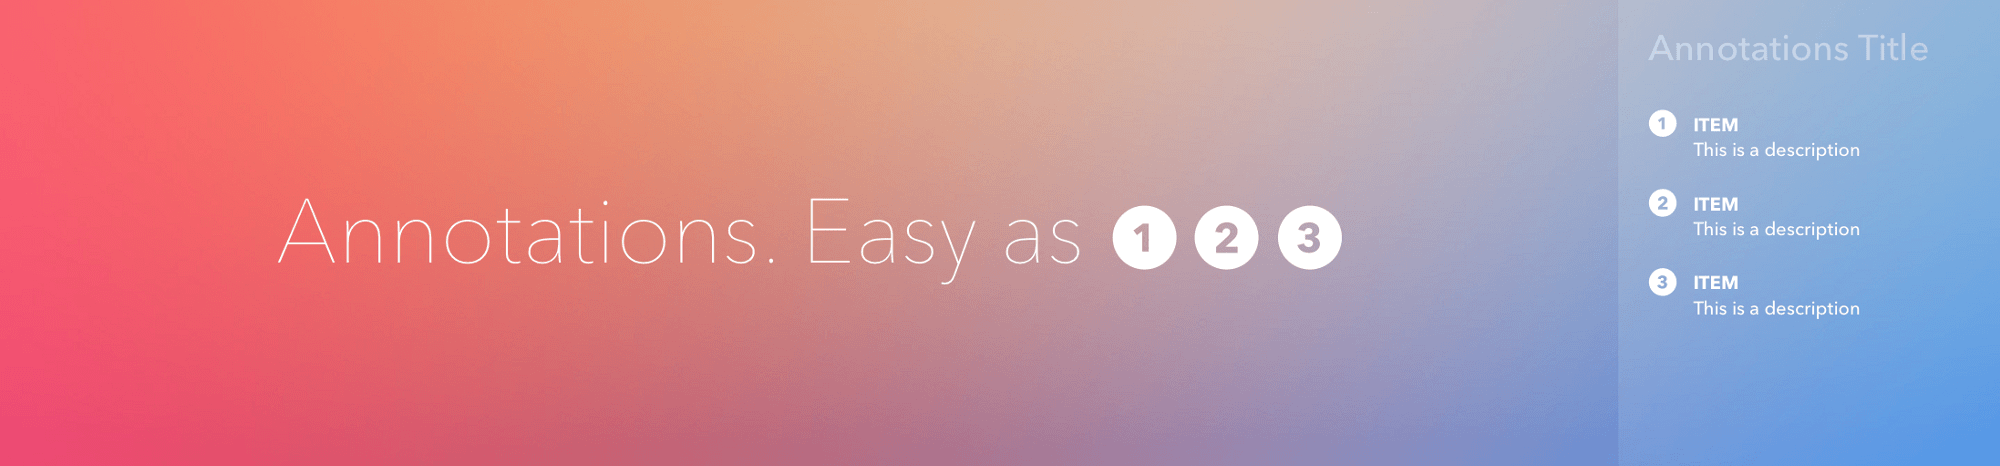
With the help of a fantastic plug-in called Sketch Notebook, you can add annotations to each of your artboards. It also lets you turn them on/off easily, and even re-style what your annotations even look like, giving you the opportunity to keep them on brand for presentations. I cannot express how much of a time-saver this is. I used to export my screens as images and import them into a separate presentation where I’d have to manually add lists of annotations, style them, and constantly update the images to keep synced up with the latest designs. It was such a time suck. But now I can annotate as I design and turn them off to keep them out of the way when I don’t want them while I’m designing. It’s another essential tool for me. But try it out for yourself to fully appreciate it. Really.
Tip: Re-style your annotations to match your brand.
By default, the annotations side-bar is dark gray with white and light gray text and green markers (the dots). You may want to re-style these elements to match your brand by changing colors, fonts, or remove unnecessary details, or add your logo, for example.
To do this, add your first annotation. A new page is then created automatically that houses an artboard used as a template for all your annotations. Editing the layout, adding, or removing elements on this artboard will affect new annotation side-bars. You’ll have to delete any you’ve made so far and re-annotate them to get the new layout or set of elements. Editing the existing text/layer styles, however, will instantly change the colors/fonts on all your existing annotations. I also suggest turning the headline text into a symbol so that it can be changed at any time and updated across all your annotations instantly, just in case you do decide to change that text later on.
Context is King!
We’re all used used to seeing our own reflection on the mirror. But take a photo of yourself and see your face as everyone else does, and you immediately notice how your left ear is actually higher than your right, or that one eye opens slightly more than the other. This is what it’s like seeing your design in context of where it actually ends up after starting at it for hours without a frame around it in your design tool, or the UI of an address bar and several tabs open. You notice things about your design you didn’t notice before. It just feels different.
Wether you’re presenting to a client, your peers, or just want to see the design for yourself, you’ve GOT to have context if you want to see what your design will actually look like; what it will feel like in it’s final form. This subtle difference in how you look will change what you actually see, allowing you to address details you may have missed.
Now, Adobe has you covered if you’re trying to mirror your designs onto a mobile device, and Sketch does that, too, with their Mirror feature and companion mobile app. But for the context of a desktop web browser, there’s another great plug-that comes in handy. It’s called Sketch Browser Preview. What it does is take a snapshot of your current artboard @1x resolution and opens it into your web browser for an instant preview. I use this constantly throughout my design process and it helps a great deal. I even use it for facilitated presentations where there’s no need for an actual click-through demo or annotations. I can simply throw all the screens I need into the browser and toggle through each tab, screen by screen, as I present each one. It’s the fastest and easiest way to present desktop designs in context.
Try it!
Download the Sketch free trial and give it a run if you haven’t already. I’ve been using Sketch for about 6 months and it’s transformed my work-flow, increasing my speed, quality of work, and innovation. It’s become my go-to design tool that works for a range of steps in my design process. I’m sure you’ll find it useful in yours, too.
Please share your thoughts and comments! I’d love to hear how you’re using Sketch in your design process, as well as your thoughts on how it fits into your ideal workflow.
Happy Sketch-ing!